Your business on steroids in 10 minutes
Most companies need structure in their organisation, teams, and roles. Larger companies have invested in developing custom Intranets to enhance their business and workflow but this comes with a heavy price tag.
Today we are going to install ERPnext on Amazon Web Services and do a basic installation that will connect most of your business needs in a central location and accessible with any device.
TIME TO COMPLETE: 10 Minutes
CATEGORIES: ERP Enterprise resource planner
SKILL LEVEL: 5/10
LICENCE: Free – Open Source
CUSTOMIZATION DIFFICULTY: 8/10
Technologies:
- frappe/erpnext
- Python 2.7
- MariaDB
- Redis
- wkhtmltopdf (optional, required for pdf generation)
- Memcached
Features
Why you should use an ERP system for your business
-
- Accounting
- POS
- Calendar
- Buying
- Stock
- Projects
- HR
- Messages
- Selling
- Support
- Manufacturing
- To Do
Installing erpNext
Tested on Ubuntu 14.04 with AWS EC2
If you don’t know how to do this please click here
For this tutorial, I am using the following IP created on aws (52.25.140.68)
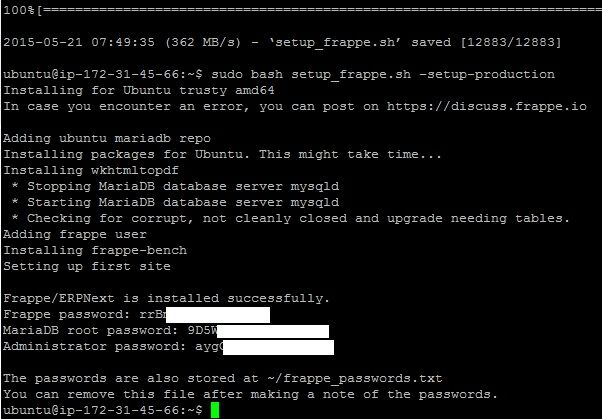
Open the clean ubuntu instance in your terminal and enter:
wget https://raw.githubusercontent.com/frappe/bench/master/install_scripts/setup_frappe.sh
sudo bash setup_frappe.sh –setup-production
This script should install the pre-requisites, install bench and setup ERPNext.
This might take some time – be patient. +/- 3 minutes
Keep your passwords in a safe place and remove the txt file with your password details.
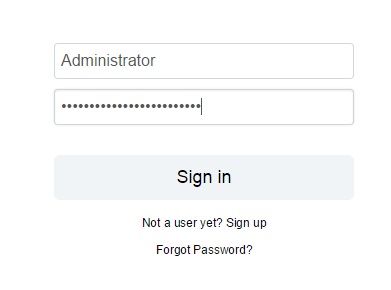
Go to your ip/domain
On a web browser enter the domain or IP of the instance you installed ERPnext on.

- If you see a login screen – congratulations you have finished your installation.
- Login as Administrator
use the password that’s been generated after installation. - Now comes the fun part of configuring your system to your needs.
Configuration Wizzard
This is where we start to shape your intranet to fit your business
Step 1 – Language

There are over 20 languages to choose from, select yours and click next.
Step 2 – Region
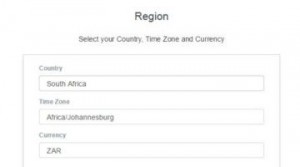
Choose your Country, time zone and currency.
Step Three – User
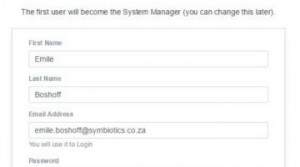
Enter your system manager, User details and preferred password.
Step Four – Company info
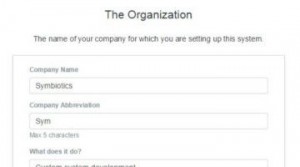
Enter Company Details like Name, Abbreviation and Financial Year Details.
Step Five – Branding

Attach Company Letterhead and Company Logo.
Step Six – Tax Info
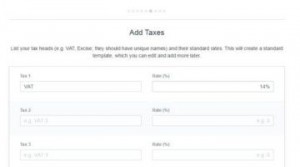
Enter any three types of taxes which you regularly pay. This wizard will create a tax master which will calculate the taxes as per the tax type.
Step Seven – Customers
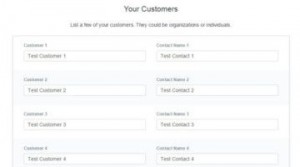
Enter your Customer names and the contact person from that organisation.
Step Eight – Suppliers
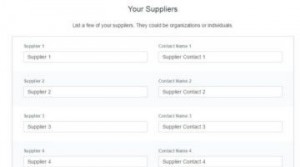
Enter a few of your Suppliers’ names.
Step Nine – Products & Services

In this final step, please enter the names of the Items you buy or sell.
Welcome to your new intranet.

You have successfully installed your own open source ERP system that will optimise the way you run your business.
This system is designed with a very simple user interface, works great on any device and customization is endless.
OFFICIAL MANUAL
This will help you configure and customize this amazing system.
Official English Manual
If you need help to install, configure and customize your system.

